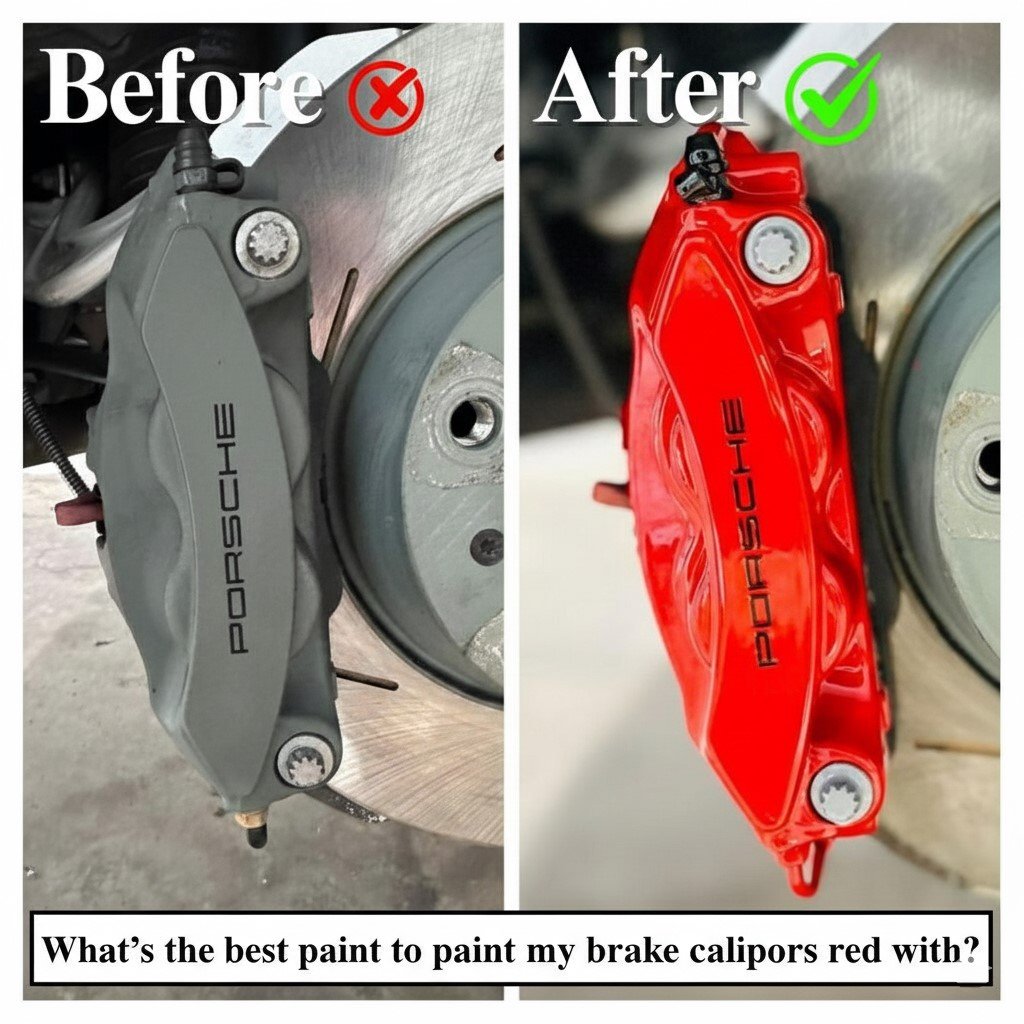
More Than Just a Color
A stripe of red, behind your wheels instantly shows the car is more sporty. I have seen a stripe of turn a car into a sporty one. Painting brake calipers red is an cheap way to customize a car. The red paint on brake calipers adds a touch of performance style. Painting brake calipers is not a job for any can of paint. For the years 2025-2026 new paint formulas are on the market. Choosing the paint product makes the difference, between a high quality finish and a chipping faded mess. Your brake calipers sit in an area, on your car. I have learned that the paint you put on the brake calipers must survive that area.
Why Standard Paint Is Not Enough
It is important to know that ordinary car body paint or household paint will fail immediately on brake calipers. Brake calipers have to endure conditions.
Extreme Heat. During driving the calipers reach three hundred to four hundred degrees Fahrenheit, which’s one hundred fifty, to two hundred degrees Celsius. During braking or on a track day the calipers climb to nine hundred degrees Fahrenheit or higher. The standard paint starts to bubble, peel. Burn at those temperatures. The standard paint releases fumes. Ruins the finish.
Chemical and Physical Ambush: The brake calipers suffer. The brake calipers get hit by brake cleaner, road salt, tar, rock and moisture. The regular paints do not have the chemical resistance to survive brake fluid overspray or aggressive wheel cleaners. The regular paints cannot protect the brake calipers and the brake calipers can break down fast and rust.
I have learned that using the paint is not optional. I have learned that using the paint is required for a safe outcome when painting the brake calipers red.
What Properties Should Good Caliper Paint Possess?
I think the paint, for this job works as a coating, not a simple color layer. Look at the paint’s properties:
Temperature Resistance: The single important figure. The temperature resistance should be rated to handle temperatures of least 500°F (260°C). The better temperature resistance options are rated for 900°F (480°C) or more.
Excellent Attachment: Attachment must stick firmly to the metal either cast press metal or aluminum. Attachment must not. Chip when the metal vibrates or expands from heat. Attachment must hold under vibration and heat.
Chemical & UV Resistance: Chemical & UV Resistance repels the brake clean. Chemical & UV Resistance also repels the street grime and the common cleaning chemicals. Chemical & UV Resistance does not. Soften the surface. UV resistance keeps the color from turning dull over time.
Durability: The wrap up must be strong and chip‑resistant. The wrap, up must survive impacts, from debris that can hit the wrap up.
Color Stability: The color, for rosy has to stay clear. The color must not turn brown or fade when it faces cycles.
Best Types of Paint for Painting Brake Calipers Red
I think you have an options. Each option has a claim application strategy and a wrap up quality.
High-Temperature Caliper Splash Paint (Brush-On Units Available):
Description: This is the easy option, for DIYers. Airborne or brush‑on units are made for brake parts. Many now use ceramic or silicone based gums that help the heat spread and keep the shine. Airborne or brush‑on units often come as a kit, with the cleaner, the primer and the paint.
Best For: Most DIY enthusiasts seeking an exceptional blend of quality, ease of use, and affordability.
Powder Coating:
Description: The process uses a powder that is electrostatically attached to the caliper. The process then heats the caliper in an oven. The heat shapes the powder into a durable skin. The process gives a OEM- finish.
Pros: Incredibly durable, resistant to chipping and chemicals, and provides a culmination, indeed finish.
Cons: Fully evacuate the caliper. Take the caliper apart. Evacuate the seals because the temperature is high. Use expert equipment. The approach is the expensive and the time consuming.
High-Temperature Motor Enamel:
Description: In my experience the motor finish is not, for calipers. The motor finish works in heat. Can be a choice if the motor finish has a high temperature rating. Check the motor finish for a temperature rating of 500°F or higher.
Best For: Budget-friendly alternative, though lacking in long-term color solidness and chemical resistance compared to a dedicated caliper paint.
Prescribed Paints & What to See For in 2025–2026
When shopping do not just go in blindly. I notice that the advertise is new and the advertise now tells you what to prioritize:
Look for labeling.
When I shop I check the labeling.
The clear labeling should say Brake Caliper Paint or High-Temp Caliper Paint.
The clear labeling should also show a temperature rating, on the can.
The temperature rating should read Withstands up, to 900°F / 480°C.
Choose Caliper-Specific Units:
Brands such, as G2, VHT and Dupli-Color make Caliper-Specific Units that are tested for this purpose.
Caliper-Specific Units often include a brush‑on application system.
The brush‑on system can be easier and cleaner, for DIYers.
2025–2026 Definition Patterns: Later headways include the headways that follow.
I have used Ceramic-Infused Paints. I see that Ceramic-Infused Paints provide heat resistance and a harder tougher finish. Ceramic-Infused Paints create a surface. The smooth surface lets you clean brake clean more easily.
UV-Stable Clear Coats: I notice that most units today have a temperature coat. The clear coat locks, in the color. Offers a layer of protection, from fading and chemicals.
Step-by-Step Painting Process (Best Practices)
I have learned that a perfect wrap‑up comes mostly from planning because planning makes the wrap‑up work. Rushing the wrap‑up will cause an outcome.
I have the input, from the user:
Tools & Materials Needed:
Jack, jack stands, and haul wrench
High-temperature brake caliper paint kit
Brake cleaner
Sandpaper (180-grit and 400-grit)
Masking tape and plastic bags
Gloves, security glasses, and respirator mask
Stiff brush and microfiber towels
The Process:
Safety First: I make sure the area is well ventilated before I start. I use the jack to lift the car. I put the car on the jack stands. I do not rely on the jack. I let the brakes cool down completely.
Preparation is Key:
Remove the wheel.
Clean the caliper thoroughly, using a dedicated brake cleaner and a stiff brush to remove all oil, grease, and embedded brake dust.
I start by using the 180‑grit sandpaper to scratch the surface of the caliper. The 180‑grit sandpaper creates a texture for the paint to cling to. I then use the 400‑grit sandpaper to scratch the surface of the caliper and smooth the surface.
Clean again with brake cleaner and a lint-free towel to evacuate all sanding residue.
I mask off the rotor I mask off the brake lines. I mask off the surrounding pieces that I do not want painted. I use plastic bags to mask off the suspension. I use plastic bags to mask off the hub.
Application:
Primer (if advised/needed by your department): Apply one or two coats of the high-temperature primer. Let the high-temperature primer dry according to the directions.
Base Coat: Apply the ruddy paint. I find that the Base Coat works best when I use lots of coats. Keep the can six to eight inches away. Move it in strokes. Put on three to five coats. Let the recommended flash off time pass between each coat; the flash off time is usually ten to fifteen minutes. Do not try to cover the Base Coat in one coat because a heavy coat will cause runs and sags.
Clear Coat (if included): After the final red coat is tack-free, apply 1-2 lean coats of high-temp clear coat for added brilliance and protection.
Curing: Follow the instructions, on the paint can. Curing for some paints is air dry. Curing for paints needs heat. Curing can be done by driving the car to warm the brakes. Curing is essential, for hardness and heat resistance.
Support and Care After Painting
To keep your ruddy calipers bright by:
Clean Routinely: Using a soft car cleaner and a soft-bristled brush on them when cleaning your wheels keeps destructive brake clean from building up and carving the paint.
Avoid chemicals:
Never use acid‑based cleaners on the wheels.
Strong acid‑based cleaners can strip paint from the wheels. Cause a color change, on the wheels.
Check Occasionally: When I rotate the tires I look for stone chips or rust spots. Stone chips I can touch up with a brush. The small brush stops the erosion, from spreading.
Pros & Cons of Painting Brake Calipers
Aesthetic Overhaul: Immediately upgrades the see of your vehicle.
Personalization lets me add the custom touch that shows my style. Personalization makes the result feel like me. Personalization gives me control.
Rust Protection: A properly bonded coating seals the exposed metal from moisture and salt.
Cost-Effective: Distant cheaper than buying costly factory-colored calipers.
Cons:
Labor-intensive: Doing it right requires considerable time and effort.
Risk of Destinute comes about: I notice that the rushing prep or the rushing application causes peeling causes runs and causes a look.
Maintenance: Treated calipers need cleaning, than untreated calipers.
Risk of Failure: In my experience using, off-base paint will cause failure. The failure will lead to a redo.
I enjoy painting brake calipers red as a DIY project. Painting brake calipers red makes the car look better. Painting brake calipers works when I use the right materials and the right techniques. The best paint, for the job is a temperature paint made for brake calipers. The high temperature paint, for brake calipers can stand heat and corrosive chemicals. By investing in a quality kit, dedicating time to meticulous preparation, and painting with patience, you can achieve a stunning, durable finish that will drop jaws and last for a long period of time. Your brakes work hard-give them a coat that’s just as intense.